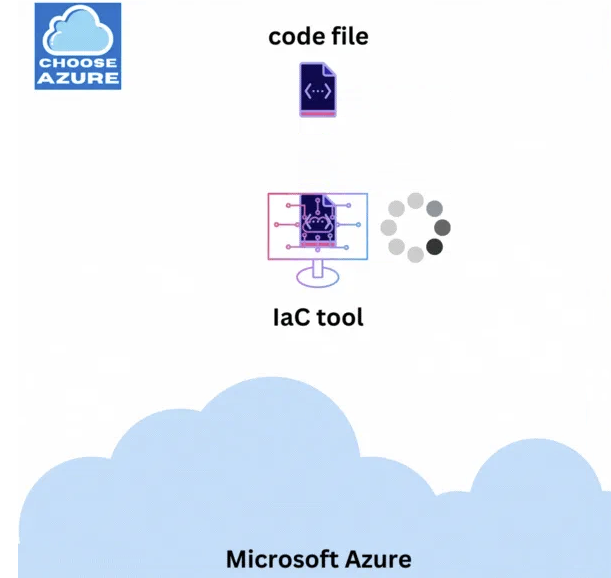
Infrastructure as Code: Simplified Azure Deployments with Terraform
Today we’re going to provision a virtual machine and Nginx server on Microsoft Azure using Terraform, a leading infrastructure-as-code tool. If you’re interested in learning the basics of infrastructure as code, I recommend checking out my post on the subject: “The Beginner’s Guide to Infrastructure as Code.”
The source code is available on github here.
Prerequisites
To follow along with this step-by-step tutorial, you’ll need the following:
- An Azure account
- An Azure DevOps organization and project
- Terraform installed on your machine, along with basic knowledge of the tool
- A storage account in Azure to store Terraform configuration files
- VS Code
Please ensure you have all of these set up before proceeding with the tutorial.
What is Terraform?
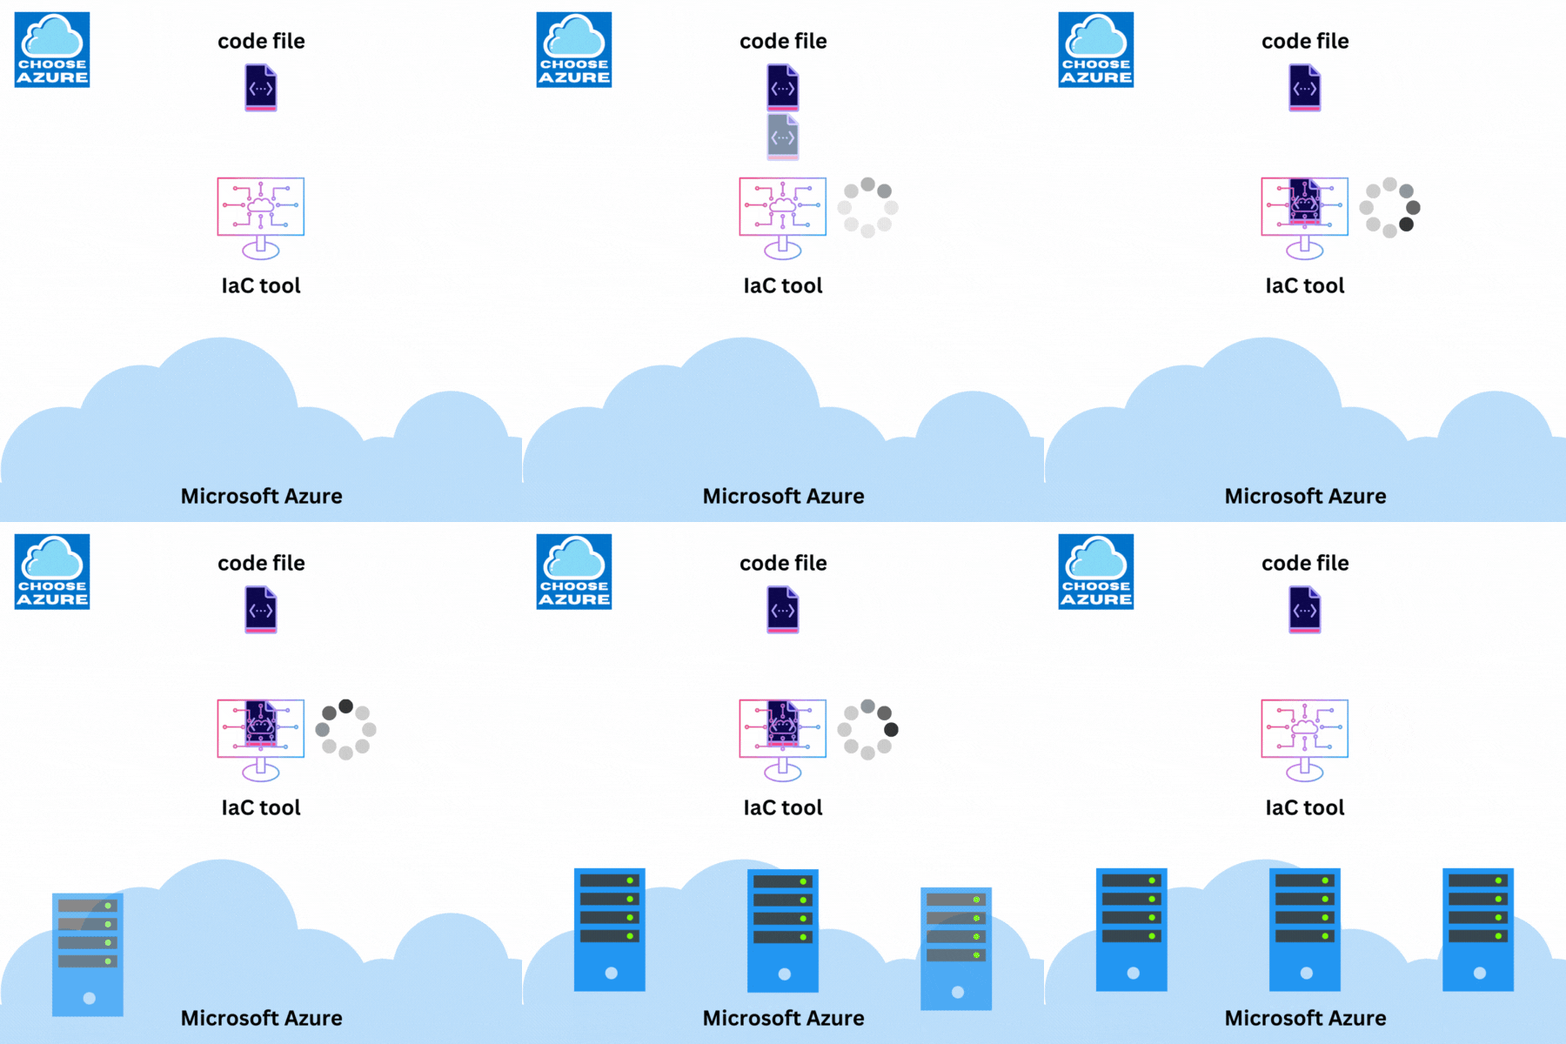
Terraform is a leading infrastructure-as-code tool developed by HashiCorp. It allows you to build, version, and deploy infrastructure to on-premises environments or to a wide range of cloud providers.
Create an IaC Project in VS Code
- Create a new folder named IAC1 and open it in VS Code.
- Create a main.tf file where we will define our infrastructure.
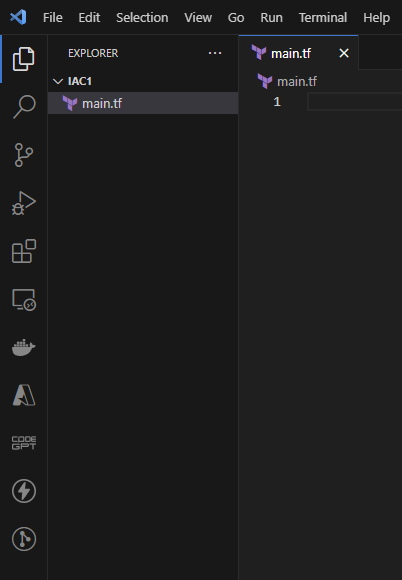
main.tf
First, let’s add the following boilerplate code, which is essential for a basic Terraform file to communicate with Microsoft Azure.
terraform {
  required_providers {
    azurerm = {
      source  = "hashicorp/azurerm"
      version = "=3.0.0"
    }
  }
}

provider "azurerm" {
  skip_provider_registration = true
  features {}
}
Here, we specify the provider as Microsoft Azure so Terraform knows which API to use when it starts provisioning our infrastructure later on.
Let’s now create a resource group called `dev-MyApp-we-rg`:
resource "azurerm_resource_group" "dev-MyApp-we-rg" {
  name     = "dev-MyApp-we-rg"
  location = "West Europe"
}
I’ve used a simple, yet useful naming convention:
`[environment]-[app name]-[location]-[resource type]`
Adopting a naming convention is a great way to avoid confusion down the road.
Apply Terraform on Azure
Type the following in your VS Code terminal:
terraform init
terraform apply -auto-approve- terraform init: Initializes the Terraform working directory.
- terraform apply -auto-approve: Applies the changes to Azure.
You should see something similar to the following:

So, according to this, we should have one resource that has been created, so let’s go to Azure and take a look.
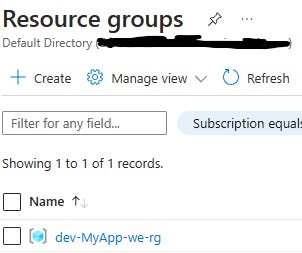
We’ve created our first resource on Azure, and that’s awesome! Now, let’s see how we can remove it.
Inside the terminal, type the following:
terraform destroy -auto-approve
You should see something similar to the following:

That was a great start; we’ve managed to get a taste of what Terraform can offer, and we’ve created our first Azure resource entirely using infrastructure as code. However, we hardcoded the name and location, which is not a good practice, so let’s create some variables.
Creating Variables in Terraform
- Create a new file called `variables.tf` in the same folder as your `main.tf`.
- Put the following code in it:
variable "rg_name" {
  type = string
  default = "dev-MyApp-we-rg"
}

variable "rg_location" {
  type = string
  default = "West Europe"
}- Save the file
That’s how we can create variables. Now, let’s discuss the options.
- type: The type of the input; valid types are string, number, bool, list, set, map, or null.
- default: The default value for the variable.
Now, back to `main.tf`, let’s change our resource group to use the variables by updating the code as follows:
resource "azurerm_resource_group" "dev-MyApp-we-rg" {
  name     = var.rg_name
  location = var.rg_location
}
And that’s how we use variables instead of hardcoding everything, like we did before. We just use `var.[name of the variable]`.
Now, let’s continue defining our infrastructure.
Create a Virtual Network
- Add a variable for the name in `variables.tf` by following the convention:
variable "vn_name" {
  type = string
  default = "dev-MyApp-we-vn"
}- Add the resource definition in `main.tf`
resource "azurerm_virtual_network" "dev-MyApp-we-vn" {
  name                = var.vn_name
  resource_group_name = azurerm_resource_group.dev-MyApp-we-rg.name
  location            = azurerm_resource_group.dev-MyApp-we-rg.location
  address_space       = ["10.0.0.0/16"]
}
A few things to note here:
We’re starting to reference other resources (dependencies) that we need in order to be able to create a virtual network. A virtual network requires a resource group and location. So, we use the resource group from above and its location, like so:
- `resource_group_name`: references our resource group’s name.
- `location`: references our resource group’s location.
From now on, we’ll be referencing resources, so I wanted you to know what we’re doing, as I won’t be mentioning it throughout the tutorial anymore.
We’re also creating an address space of 10.0.0.0/16 for our virtual network.
Create a Subnet
- Add a variable for the name in `variables.tf` by following the convention:
variable "sn_name" {
  type = string
  default = "internal"
}- Add the resource definition in `main.tf`
resource "azurerm_subnet" "dev-MyApp-we-sn" {
  name                 = var.sn_name
  resource_group_name  = azurerm_resource_group.dev-MyApp-we-rg.name
  virtual_network_name = azurerm_virtual_network.dev-MyApp-we-vn.name
  address_prefixes     = ["10.0.2.0/24"]
}
Here, we’re setting a subnet prefix of 10.0.2.0/24.
Create a Public IP Address
We’ll need to have a public IP so that our VM is reachable from the internet. A public IP, like everything else on Azure, is a resource we need to create.
- Add a variable for the name in `variables.tf` by following the convention:
variable "ip_name" {
  type = string
  default = "publicIP1"
}- Add the resource definition in `main.tf`
resource "azurerm_public_ip" "dev-MyApp-we-ip" {
  name                = var.ip_name
  resource_group_name = azurerm_resource_group.dev-MyApp-we-rg.name
  location            = azurerm_resource_group.dev-MyApp-we-rg.location
  allocation_method   = "Static"
}
We’re setting the allocation method to Static, which means Azure will create an IP address that will remain the same throughout the life of the resource.
Another option is Dynamic, which means that the IP address is assigned dynamically and can change.
Create Network Interface Card (NIC)
We’ll also have to create a Network Interface Card and attach the public IP to it, so let’s do that.
- Add a variable for the name in `variables.tf` by following the convention:
variable "nic_name" {
  type = string
  default = "dev-MyApp-we-nic"
}- Add the resource definition in `main.tf`
resource "azurerm_network_interface" "dev-MyApp-we-nic" {
  name                = var.nic_name
  location            = azurerm_resource_group.dev-MyApp-we-rg.location
  resource_group_name = azurerm_resource_group.dev-MyApp-we-rg.name

  ip_configuration {
    name                          = "internal"
    subnet_id                     = azurerm_subnet.dev-MyApp-we-sn.id
    private_ip_address_allocation = "Dynamic"
    public_ip_address_id          = azurerm_public_ip.dev-MyApp-we-ip.id
  }
}
Here, we’re configuring the NIC to use dynamic IP allocation, which means the IP is automatically assigned during the creation of this Network Interface. Another option is Static, which is for user-supplied IP addresses. We’re also adding the public IP we’ve created above to `public_ip_address_id`.
Create Network Security Group (NSG)
Network security groups are used to filter network traffic to and from Azure resources in an Azure virtual network. In our case, we need to create a network security group and allow inbound traffic to our VM so that we can access our Nginx server from the browser later on.
- Add a variable for the name in `variables.tf` by following the convention:
variable "nsg_name" {
  type = string
  default = "dev-MyApp-we-nsg"
}- Add the resource definition in `main.tf`
resource "azurerm_network_security_group" "dev-MyApp-we-nsg" {
  name                = var.nsg_name
  location            = azurerm_resource_group.dev-MyApp-we-rg.location
  resource_group_name = azurerm_resource_group.dev-MyApp-we-rg.name

  security_rule {
    name                       = "AllowAllInbound"
    priority                   = 100
    direction                  = "Inbound"
    access                     = "Allow"
    protocol                   = "*"
    source_port_range          = "*"
    destination_port_range     = "*"
    source_address_prefix      = "*"
    destination_address_prefix = "*"
  }
}
It’s usually a good idea to only allow certain IPs in `source_address_prefix`, but for the purpose of this tutorial, we will allow traffic from everyone. Now, the only thing left is creating the VM and installing Nginx on it. Next, we need to associate the NSG with our subnet.
Associate NSG to Subnet
resource "azurerm_subnet_network_security_group_association" "dev-MyApp-we-nsga" {
  subnet_id                 = azurerm_subnet.dev-MyApp-we-sn.id
  network_security_group_id = azurerm_network_security_group.dev-MyApp-we-nsg.id
}
Create a VM and Install Nginx
So, let’s now create the Ubuntu VM and install the Nginx server on it. Before we proceed with that, we need to create an SSH key which is going to be used for connecting to the VM.
Create SSH Key
You can use the following command in your terminal (both Linux and Windows):
ssh-keygenIt will ask you where to save it. You could choose the defaults by hitting ‘Enter’, or you can choose a location you want.
Now, let’s create a new file in your project, named `nginx.tpl`, and copy the following script:
#!/bin/bash
# nginx-install.tpl

# Update your system's package index
sudo apt-get update -y

# Install NGINX
sudo apt-get install nginx -y

# Enable and start the NGINX service
sudo systemctl enable nginx
sudo systemctl start nginx
This script installs Nginx and starts it. We will see how in a second. Let’s proceed with defining our VM now.
- Add a variable for the name in `variables.tf` by following the convention:
variable "vm_name" {
  type = string
  default = "dev-MyApp-we-vm"
}- Add the resource definition in `main.tf`
resource "azurerm_linux_virtual_machine" "dev-MyApp-we-vm" {
  name                = var.vm_name
  resource_group_name = azurerm_resource_group.dev-MyApp-we-rg.name
  location            = azurerm_resource_group.dev-MyApp-we-rg.location
  size                = "Standard_A1_v2"
  admin_username      = "adminuser"
  network_interface_ids = [
    azurerm_network_interface.dev-MyApp-we-nic.id,
  ]

  custom_data = filebase64("nginx.tpl")

  admin_ssh_key {
    username   = "adminuser"
    public_key = file("~/.ssh/id_rsa.pub")
  }

  os_disk {
    caching              = "ReadWrite"
    storage_account_type = "Standard_LRS"
  }

  source_image_reference {
    publisher = "Canonical"
    offer     = "0001-com-ubuntu-server-jammy"
    sku       = "22_04-lts"
    version   = "latest"
  }
}
Let’s take a look at a few settings from this configuration.
- `size`: The VM’s SKU (1vCore, 2GB of RAM, and 10GB of temp storage)
- `admin_username`: The name of the admin user we’ll use to log in
- `custom_data`: That’s a built-in VM functionality that allows the VM to run some scripts once it is provisioned. In our case, we want the VM to run the script that installs and starts Nginx. Since the script is in the same location as the rest of the files, we’re just providing the name. Otherwise, the path to the file would be required.
- `admin_ssh_key`: The path to the SSH key we’ve just created.
- `os_disk`: This sets the caching and the redundancy plan for the managed disk. What it means is it will cache both reads and writes and will store data locally within a single Azure region to ensure durability.
- `source_image_reference`: The image SKU for the VM; in our case, that’s the latest Ubuntu, version 22.04.
We’re done, so let’s see if we can provision everything we described in Terraform to Azure.
In your terminal, type the following:
terraform init
terraform apply -auto-approve
If you typed everything above correctly, you should see something like the following:
Apply complete! Resources: 8 added, 0 changed, 0 destroyed.
And in Azure, you should have your infrastructure ready as well.
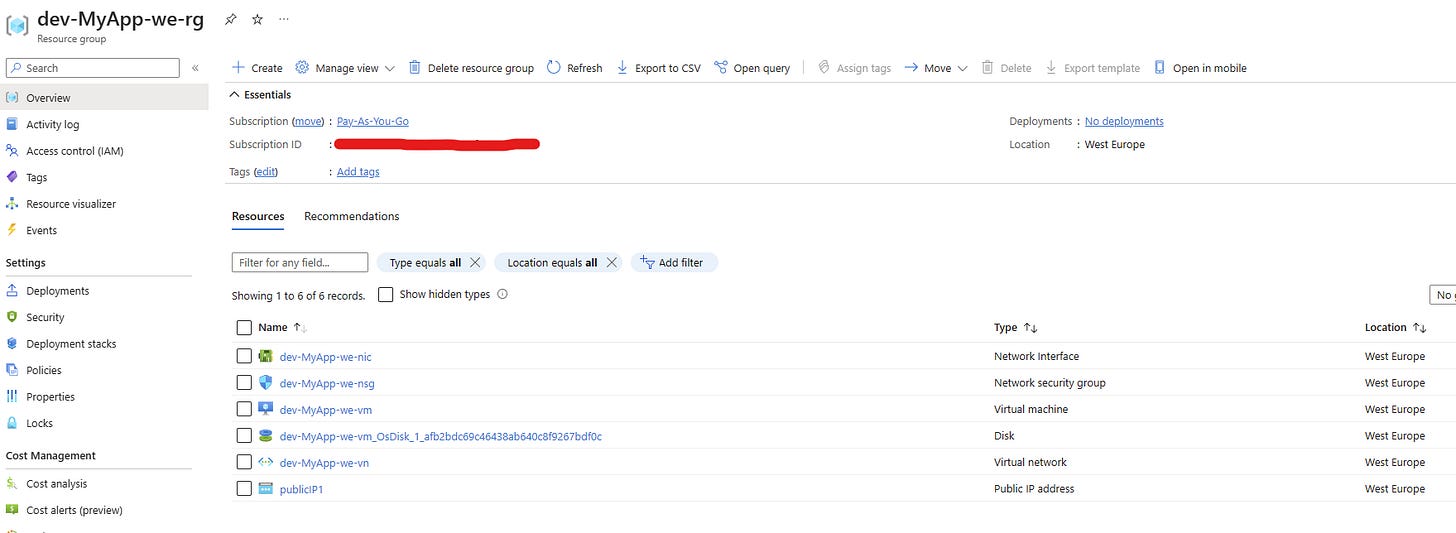
Now let’s see if we can access our Nginx. Go to your VM by clicking on `dev-MyApp-we-vm`. On the right side, you should see the public IP address we’ve created (Public IP address); copy that and hit it in your browser.
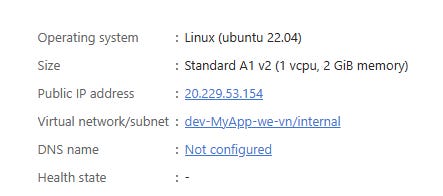
And voilà.
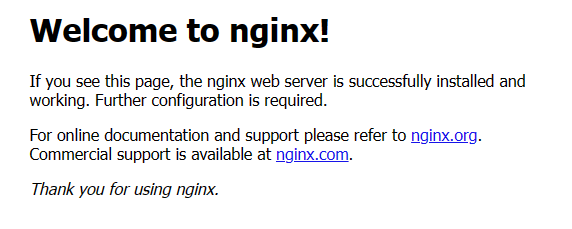
We’ve created our own VM and installed Nginx on it that’s accessible from the internet using infrastructure as code via Terraform. How cool is that?
And if you want to connect to the VM, you can type the following in your VS terminal:
ssh -i ~/.ssh/id_rsa adminuser@[IP ADDRES OF THE VM]Let’s now destroy everything by typing the following in our terminal:
terraform destroy -auto-approve
We’ve created our infrastructure using the terminal, but usually, we should use some CI/CD tool, like Azure DevOps or GitHub Actions. Let’s see how we can do that using Azure DevOps.
Deploy Terraform using Azure DevOps
The rest of this tutorial assumes you have some Azure and Azure DevOps expertise. You know how to create pipelines and resources inside Azure using the portal or CLI.
- Push your code to Azure Repo
- Make sure you have Terraform extension installed
To check, go to Organization settings and click on Extensions. If Terraform is missing, please proceed with installing it.
Terraform needs a place to save its state files, so we should create a storage account for that in Azure:
- Using Azure Portal or CLI, create a resource group called `rg-terraform`
- Create a storage account inside the `rg-terraform` resource group
- Inside the storage account create a container called `tfsettings`
- Inside `main.tf` add the following under terraform so that Terraform knows where to save your state:
terraform {
  required_providers {
    azurerm = {
      source  = "hashicorp/azurerm"
      version = "=3.0.0"
    }
  }
  backend "azurerm" {
    resource_group_name  = "rg-terraform"
    storage_account_name = "[YOUR STORAGE ACCOUNT NAME]"
    container_name       = "tfsettings"
    key                  = "dev.terraform.tfstate"
  }
}- Inside your Terraform project, create an `azure-pipelines.yml` file with the following content:
trigger: none

pool:
  name: 'Default'

variables:
  rgName: 'rg-terraform'
  saName: '[YOUR STORAGE ACCOUNT NAME]'
  sacName: 'tfsettings'
  stateFileName: 'dev.terraform.tfstate'

steps:
  - task: TerraformInstaller@1
    displayName: tfinstall
    inputs:
      terraformVersion: 'latest'
  - task: TerraformTaskV4@4
    displayName: init
    inputs:
      provider: 'azurerm'
      command: 'init'
      workingDirectory: '$(System.DefaultWorkingDirectory)\iac'
      backendServiceArm: 'Pay-As-You-Go([YOUR SUBSCRIPTION ID])'
      backendAzureRmResourceGroupName: '$(rgName)'
      backendAzureRmStorageAccountName: '$(saName)'
      backendAzureRmContainerName: '$(sacName)'
      backendAzureRmKey: '$(stateFileName)'
  - task: TerraformTaskV4@4
    displayName: apply
    inputs:
      provider: 'azurerm'
      command: 'apply'
      workingDirectory: '$(System.DefaultWorkingDirectory)\iac'
environmentServiceNameAzureRM: 'Pay-As-You-Go([YOUR SUBSCRIPTION ID])'- Note that I’m using my own self-hosted pool (Default), so you should use yours here or a managed one from Microsoft.
- Replace [YOUR STORAGE ACCOUNT NAME] and [YOUR SUBSCRIPTION ID] with yours and push the file to your Azure Repo.
- Create Azure Pipeline using the `azure-pipelines.yml` file we’ve just created.
- Run the pipeline
- If we’ve done everything correctly, we should have our infrastructure provisioned in Azure now, again, but this time using Azure DevOps.
- Also, you should have a Terraform state file inside your storage account, like so:
Congrats! You’ve just provisioned your infrastructure using infrastructure as code, Terraform, and Azure DevOps!
This is a post I posted on my other blog too – ChooseAzure.com, so go check it out 🙂
